To register for a live demonstration, click here
iPaper Enterprise Capture is configuration driven and can be set up for your unique requirements.
In this walk-through, we will demonstrate a sample process for a vehicle licensing office in a City Council.
We will demonstrate a part of their process which includes a remote office that creates files for different processes and ship them to a central hub for processing
In another scenario, the remote office will scan some documents on their multi-function printer and send the documents to the central hub for automated processing.
- For high volume dedicated scanning, you can use the iPaper Desktop Capture application
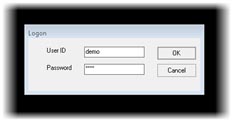
- Logon on to iPaper Desktop Capture.
- Select from a list of Pre-configured scan profiles to automatically set different scan modes. These profiles control page size, resolution, colour and any other configuration that is available for the scan device.
The Team Administrator can add additional profiles. 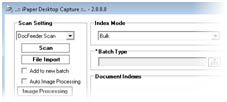
- When you click scan, pages will be scanned using the selected scan setting.
- The detect function will run a set of predefined image processing steps, for example image clean-up, blank page detection, page splitting (A3 to A4).

For high volume processing this function is automated by selecting the Auto detect function. This feature allows you to continue scanning while the system runs the Image Processing steps in the background.- The scan operator can view images, remove unwanted pages, capture additional data before sending the pack for Indexing.
- iPaper Web Indexing
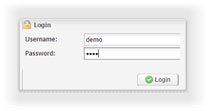
Items that came into the system through scanning, automated email import, web scanning or MFP import are auto-indexed based on the configured rules for the inbound channel. Items that could not be auto indexed, will be sent to a manual indexing queue. - Log on. Authentication can be Microsoft Active Directory (on-premises or Azure), iPaper built-in security or a custom LDAP security directory.
- Once logged on, the system will display an Explorer-style navigator of activities where you have access.
The system will show you a default Inbox view, and can be changed to a Department (work group) view or any other view that is configured on your profile.
Inbox Views are configurable and additional views can be added by the Team Administrator. 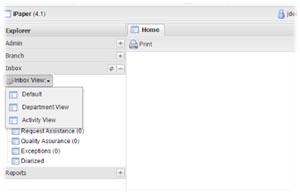
- Select a queue from the inbox views. The system will show a filtered list of items for the view that you have access to.
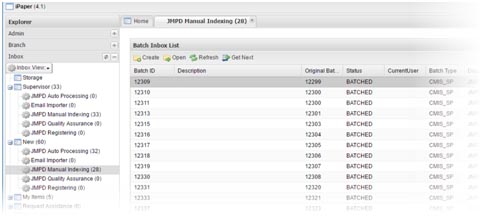
- Use the functions at the bottom of the queue view to Open a selected item, or use “Get Next” to let the system automatically allocate the next item to you based on age and priority. The “Get Next” rule is configurable per view.

- The Indexing application will load a batch along with the Auto-indexed information. A notes section will tell you why the item could not be auto processed.
This tool allows you to fix the documents, restructure the pages, update the document indexes and validate everything against a back-end system (like SAP, a database, web service etc.) 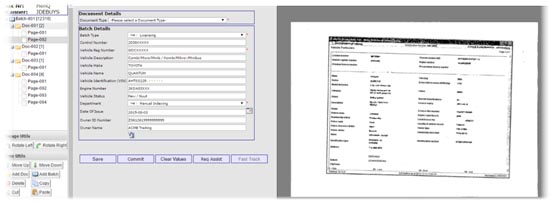
- The Indexing application will load a batch along with the Auto-indexed information. A notes section will tell you why the item could not be auto processed.
- If you are happy with the document structure and meta data, you can save and commit the batch.
- The documents will now be sent to the configured document repository and update partner systems based on the configured rules.
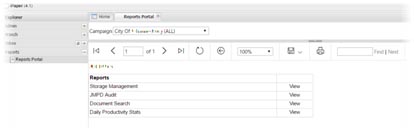
- iPaper Reports & document search
- Access reports and search tools on the Reports Portal
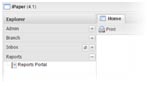
- Reports and tools that you have access to will be listed in the Explorer navigator.
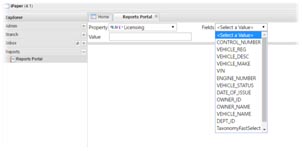
- Open the Document Search tool.
- Select a field that you want to search on. Note that the search criteria fields are configurable and customisable. Additional search fields, pre-search lookups and other custom rules can be added to the search criteria.
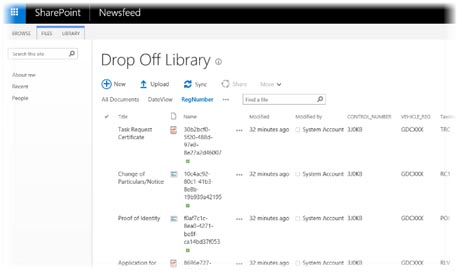
- The results will show documents that were processed on the system and also list documents in the configured document repositories (for example SharePoint) at the bottom
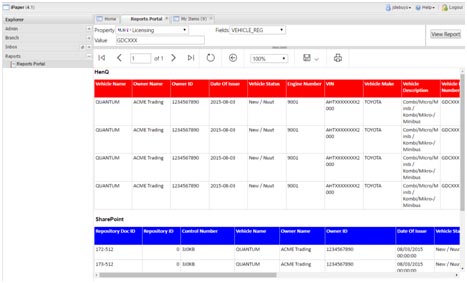
If you scroll to the right, we provide links to view the original item as it was scanned, a link to view items after it was auto processed or indexed.
Under the document repository results, we provide a link to view the documents from the repository (for example SharePoint)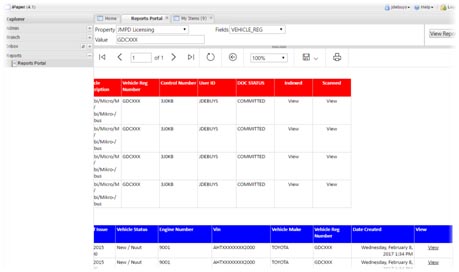
Results directly from the document repository.